 Auto-Generated
Cracked Phone Screen? Easy DIY Fixes & Repair Guide
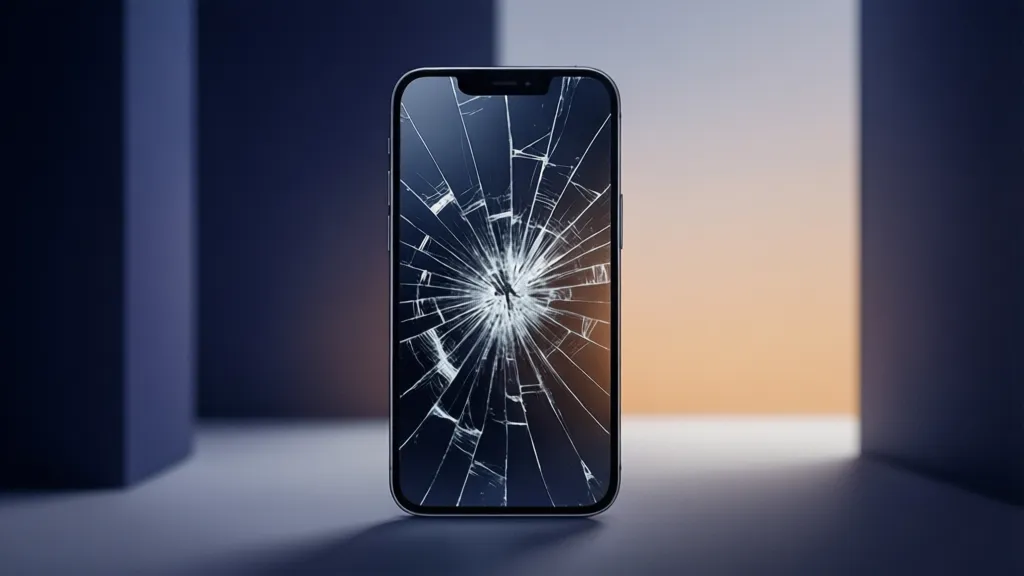
That heart-stopping moment when your phone slips from your grasp and lands face-down. You pick it up, dreading the inevitable, only to find a spiderweb of cracks marring your once-pristine display. You're not alone; a staggering 50 million phone screens are damaged annually in the United States alone, leading to frustration and often costly repairs.
The Reality of Phone Screen Damage in 2026
In 2026, smartphone screens are more advanced than ever, offering stunning clarity and vibrant colors, but they remain one of the most vulnerable components. The ubiquity of smartphones means that screen damage is a persistent issue for millions globally. While manufacturers strive for durability with technologies like Gorilla Glass, the reality is that accidental drops happen. A recent report by Statista indicates that over 35% of smartphone users have experienced screen damage in the past year, highlighting the pervasive nature of this problem. The cost of professional screen replacement can range anywhere from $100 to over $300, depending on the phone model and the extent of the damage, making DIY repair an increasingly attractive option for budget-conscious consumers and repair shops alike. This trend is further fueled by the growing availability of affordable, high-quality replacement parts and detailed repair guides, empowering more users to take matters into their own hands.
What You Need Before You Start
Before embarking on a DIY phone screen replacement, gather the following essential tools and components:
- Replacement Screen Assembly: Ensure it's compatible with your specific phone model (e.g., iPhone 15 Pro, Samsung Galaxy S26). Opt for a full assembly (LCD/OLED and digitizer) for easier replacement.
- Precision Screwdriver Set: Including Pentalobe, Phillips, and sometimes Tri-point bits.
- Spudger Tools: Non-conductive plastic or metal tools for prying and disconnecting components.
- Suction Cup: To lift the screen assembly.
- Heat Gun or Hair Dryer: To soften adhesive.
- Thin Prying Tools: Such as guitar picks or thin plastic cards.
- Tweezers: For handling small components and connectors.
- Adhesive Strips/Tape: For re-securing the new screen.
- Anti-static Mat and Wrist Strap: To prevent electrostatic discharge (ESD) damage.
- A Clean, Well-Lit Workspace: Essential for visibility and organization.
- Magnetic Mat: To keep track of tiny screws.
Step-by-Step: Replacing a Cracked Phone Screen
Replacing a cracked phone screen can seem daunting, but by following these steps carefully, you can restore your device to its former glory. This guide focuses on general principles, as specific steps may vary slightly by phone model. Always consult a device-specific repair guide for your exact model.
Step 1: Prepare Your Workspace and Device
Begin by powering off your phone completely. This is crucial to prevent short circuits and accidental damage during the repair. Remove the SIM card tray. Lay out your anti-static mat and organize your tools. Having a magnetic mat for screws is invaluable, as many phone screws are tiny and easily lost. Labeling compartments or using a diagram to note where each screw came from can save immense frustration during reassembly. Ensure your hands are clean and dry, and consider wearing an anti-static wrist strap.
Step 2: Heat and Open the Device
Most modern smartphones use strong adhesive to secure the screen assembly to the frame. Apply gentle, consistent heat to the edges of the screen using a heat gun or hair dryer. Move the heat source continuously to avoid overheating any single spot, which can damage internal components or the battery. Focus on the perimeter for 1-2 minutes. Once the adhesive is softened, place a suction cup near the bottom edge of the screen and gently pull up to create a small gap.
 Photorealistic editorial photography of a smartphone being carefully pried open with a spudger tool, showing the delicate internal components. Professional harmonious color palette, trustworthy mood, rule of thirds composition, clean background, 16:9 landscape aspect ratio.
Step 3: Carefully Separate the Screen Assembly
Insert a thin prying tool, like a guitar pick or plastic spudger, into the gap created by the suction cup. Slowly work your way around the edges of the phone, gently separating the screen from the frame. Be extremely cautious around areas where flex cables might be located (often near the top or sides), as these are delicate and easily torn. If you encounter significant resistance, reapply heat. Avoid excessive force. Once the adhesive is sufficiently loosened, you should be able to carefully lift the screen assembly, but do not pull it completely off yet, as it will still be connected by flex cables.
Step 4: Disconnect Internal Components
With the screen slightly open, you'll need to disconnect the flex cables that connect the screen assembly to the phone's logic board. These typically include the display cable, digitizer cable (for touch input), and sometimes cables for the front camera or earpiece speaker. Use a plastic spudger to gently pry up the connectors. They usually snap into place, so avoid pulling directly on the cables themselves. You might also need to remove small metal brackets that secure these connectors. Keep track of all screws and brackets. Be particularly careful around the battery connector; it's often advisable to disconnect the battery first to prevent accidental power surges during the repair.
Step 5: Transfer Components to the New Screen (If Necessary)
Depending on whether your replacement screen is a full assembly or just the glass and digitizer, you might need to transfer components from your old screen to the new one. This often includes the front-facing camera, earpiece speaker, home button (especially critical for Touch ID/Face ID functionality), and any sensors. This is a delicate process, and these small parts are prone to damage or loss. For instance, if your phone has damages camera modules or faulty phone speakers, this is an opportune moment to replace them as well, as they are often integrated into the screen assembly or easily accessible once the screen is off. Malam Communication offers a wide range of high-quality replacement parts, including new screens, cameras, and phone speakers, ensuring you have the right components for a successful repair.
Step 6: Install the New Screen Assembly
Before applying new adhesive, connect the flex cables of the new screen assembly to the logic board. Carefully snap each connector into place, ensuring it's seated properly. Do not force them. Power on your phone to test the new screen's functionality. Check the display for dead pixels, touch responsiveness across the entire screen, and the functionality of the front camera and speakers if they were transferred or replaced. If everything works, power off the phone again.
Step 7: Secure the New Screen and Reassemble
Apply new adhesive strips or tape around the perimeter of the phone frame. Carefully position the new screen assembly, aligning it perfectly with the frame. Gently press down along the edges to secure the adhesive. Reinstall any screws or brackets that were removed in Step 4. Close the phone, ensuring all edges are flush. Reinsert the SIM card tray.
Step 8: Final Checks and Curing
Once the phone is fully reassembled, perform a final power-on and thorough test of all functions: screen, touch, camera, phone speakers, Wi-Fi, and charging. It's often recommended to place the phone under light pressure (e.g., between books or using clamps designed for phone repair) for a few hours to allow the adhesive to fully cure. This ensures a secure and lasting bond for your new screen.
Common Mistakes to Avoid
- Not Disconnecting the Battery: Forgetting to disconnect the battery is a common oversight that can lead to short circuits and permanent damage to your phone's logic board.
- Using Too Much Force: Phone components are delicate. Excessive force when prying or disconnecting cables can easily lead to tears, breaks, or bent parts.
- Losing or Mixing Up Screws: The tiny screws inside phones are often of different lengths and types. Mixing them up or losing them can prevent proper reassembly or even damage internal components if a screw is too long for its designated hole.
- Damaging Flex Cables: These flat, ribbon-like cables are extremely fragile. Pulling on them instead of prying at the connectors, or bending them sharply, can render your new screen or other components unusable.
- Overheating the Device: While heat is necessary to soften adhesive, too much heat in one spot can damage the battery, melt plastic components, or affect the display.
- Ignoring ESD Precautions: Electrostatic discharge can fry sensitive electronics without any visible sign. Always use an anti-static mat and wrist strap.
How to Track and Grow After Launch
After successfully replacing your phone screen, the "launch" is simply having a fully functional device again. However, for phone repair shops or individuals looking to expand their DIY skills, tracking success and growing expertise is key.
For repair shops, maintaining a detailed record of repairs, including parts used (e.g., specific replacement screens, used screens for testing, new batteries), repair time, and customer feedback, is crucial. This data helps identify common issues, optimize inventory, and improve service quality. Tracking the lifespan of replaced components can also inform future parts purchasing decisions. For instance, if you notice a particular brand of replacement batteries consistently underperforms, you can adjust your sourcing. Utilizing a robust inventory and repair management system can streamline these processes. Malam Communication understands the needs of both individual users and repair businesses, offering not only quality parts but also insights into current market trends for phone components, helping you make informed decisions for your repair needs or business growth.
 Sleek 3D illustration of a data dashboard showing analytics for phone repair success rates, inventory levels, and customer satisfaction metrics. Professional harmonious color palette, modern mood, clean composition with ample negative space, 16:9 landscape aspect ratio.
For individual users, the "growth" comes from the confidence and knowledge gained. You've saved money and learned a valuable skill. Consider investing in protective accessories like screen protectors and robust cases to prevent future damage. Sharing your experience with others can also foster a community of DIY enthusiasts.
> "The ability to repair and maintain our devices not only extends their lifespan but also empowers us with a deeper understanding of the technology we rely on daily."
Frequently Asked Questions
Q1: Is DIY phone screen replacement really worth it?
A1: For many, yes. The primary benefit is cost savings, as professional repairs can be expensive. It also offers a sense of accomplishment and a deeper understanding of your device. However, it requires patience, precision, and the right tools. If you're uncomfortable with intricate work, a professional repair might be a better option.Q2: Where can I find reliable replacement parts like screens and batteries?
A2: Always source parts from reputable suppliers. Look for vendors with good reviews and clear return policies. Be wary of extremely low-priced parts, as they often indicate poor quality. Malam Communication specializes in providing high-quality phone accessories and genuine replacement parts, including screens, batteries, and even components like phone speakers, ensuring reliability for your repair.Q3: Will replacing my phone screen void its warranty?
A3: In most cases, yes. Opening your phone and performing unauthorized repairs will typically void the manufacturer's warranty. This is an important consideration, especially for newer devices still under warranty.Q4: What if I damage other components during the repair?
A4: This is a risk of DIY repair. Common accidental damages include torn flex cables, damaged charging ports, or even issues with the damages camera if not handled carefully. This is why thorough research, patience, and the right tools are crucial. If you're unsure, it's always best to seek professional help.Q5: Can I replace just the glass, or do I need a full screen assembly?
A5: While it's technically possible to replace just the glass, it's an extremely difficult and precise process that requires specialized equipment to separate the glass from the digitizer and LCD/OLED panel without damaging them. For most DIYers, replacing the entire screen assembly (glass, digitizer, and display panel together) is significantly easier and has a much higher success rate. This also guarantees that if your old screen had issues beyond just cracks, like unresponsive touch or display artifacts, those issues are also resolved.Q6: How do I know if my old screen has a good used screen for parts?
A6: If your old screen's display (LCD/OLED) and digitizer (touch function) are still fully operational despite the cracks, it might be possible to salvage components like the front camera, earpiece, or home button for future repairs, especially if you're a repair shop. However, storing used screens requires proper handling to prevent further damage. Homepage
Ready to Restore Your Device?
Don't let a cracked screen diminish your smartphone experience. With the right guidance and quality parts, you can breathe new life into your device. If you're looking for a new phone, high-quality replacement parts, or need expert advice on repairing your existing device, Malam Communication is your trusted partner. Explore our extensive range of phones, accessories, and components today and get your tech back in perfect working order.
Comments (0)
No comments yet. Be the first!