 Auto-Generated
Fix iPhone Screen: DIY Repair Guide & Cost Savings
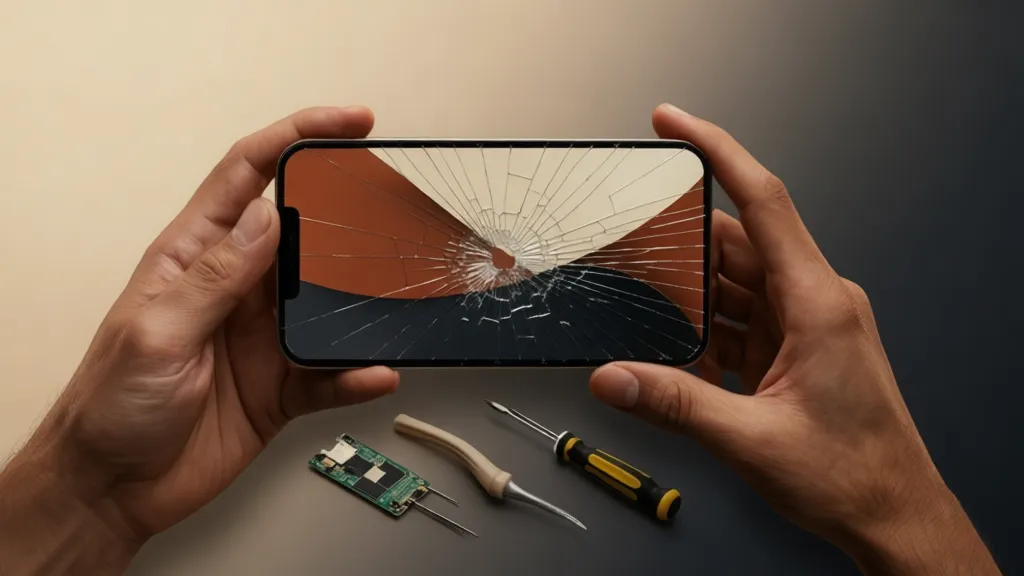
Cracked iPhone screens are more than just an eyesore; they're a daily frustration, hindering usability and significantly dropping resale value. With professional screen repairs often costing hundreds of dollars, many users face a tough choice: live with the damage or shell out a significant sum. But what if there was a third, more empowering option to restore your device to its former glory without breaking the bank?
The Shifting Landscape of Device Repair in 2026
The right to repair movement has gained significant traction, making 2026 a pivotal year for DIY device maintenance. Consumers are increasingly seeking alternatives to expensive manufacturer repairs, driven by both cost and a desire for greater control over their electronics. According to a recent report by iFixit, the global market for smartphone repair parts and services is projected to exceed $100 billion by 2030, with a notable surge in demand for self-repair kits and components. This trend is further fueled by rising inflation and a growing environmental consciousness, as repairing devices extends their lifespan and reduces electronic waste. The average cost of professional iPhone screen replacement can range from $129 to over $329, depending on the model and service provider, making a DIY approach an attractive proposition for many.
What You Need Before You Start
Before you embark on your iPhone screen replacement journey, gather these essential items:
- Replacement Screen Assembly: Ensure it's compatible with your specific iPhone model (e.g., iPhone 13, iPhone 14 Pro). Look for reputable suppliers offering quality components.
- Pentalobe Screwdriver: For removing the two screws at the bottom of your iPhone.
- Phillips Head Screwdriver: For internal screws.
- Tri-Point Y000 Screwdriver: For specific internal screws on newer models.
- Spudger: A non-conductive tool for prying and disconnecting cables.
- Suction Cup: To help lift the screen.
- Opening Picks (Plastic): To separate the screen assembly from the phone body.
- Tweezers: For handling small components and ribbon cables.
- Heat Gun or Hair Dryer (optional but recommended): To soften adhesive.
- Magnetic Mat: To keep track of tiny screws and prevent loss.
- Anti-Static Wrist Strap (optional but recommended): To protect sensitive internal components from static discharge.
 Photorealistic editorial photography of a clean workbench with various small electronic repair tools neatly organized, a disassembled smartphone partially visible, professional harmonious color palette, modern mood, rule of thirds composition, clean background, ample negative space, 16:9 landscape aspect ratio
Step-by-Step: Fix iPhone Screen: DIY Repair Guide & Cost Savings
Replacing your iPhone screen can seem daunting, but by following these steps carefully, you can achieve a successful repair and save a significant amount of money.
Step 1: Prepare Your Workspace and Power Down
Begin by powering off your iPhone completely. This is a critical safety step to prevent electrical shorts or damage during the repair. Clear a well-lit, clean, and organized workspace. A magnetic mat is highly recommended to keep track of the tiny screws you'll be removing. Static electricity can damage sensitive components, so consider wearing an anti-static wrist strap if you have one.
Step 2: Remove the Pentalobe Screws
Locate the two pentalobe screws on either side of the charging port at the bottom edge of your iPhone. Use your pentalobe screwdriver to carefully remove these screws. Place them securely on your magnetic mat, noting their exact position. These are often the first screws removed and the last to be reinstalled.
Step 3: Separate the Screen Assembly
This is arguably the most delicate part of the repair. Apply a small amount of heat to the edges of the screen using a heat gun or hair dryer to soften the adhesive holding the screen in place. Attach the suction cup to the lower half of the screen, just above the home button (if applicable). Gently pull up on the suction cup while simultaneously prying around the edges with an opening pick. Start from the bottom corners and work your way up the sides. Be extremely cautious not to insert the pick too deeply, as you could damage internal cables.
Step 4: Disconnect Internal Cables
Once you've sufficiently separated the screen, do not pull it away completely. The screen assembly is still connected to the phone's logic board by several delicate ribbon cables. Carefully open the phone like a book, typically from the right side for most iPhone models, ensuring the screen doesn't strain the cables. You'll see several small metal brackets covering the cable connectors. Use your Phillips head or tri-point screwdriver to remove the screws securing these brackets, then use a spudger to gently pry up and disconnect the battery connector first. This immediately cuts power to the device, further reducing risk. Then, disconnect the display, digitizer, and front camera/sensor cables.
Step 5: Transfer Components to the New Screen
Your new replacement screen might come as a full assembly (including the front camera, earpiece speaker, and home button/Touch ID sensor) or as a bare screen. If it's a bare screen, you'll need to carefully transfer these components from your old, damaged screen to the new one. This involves removing more tiny screws and brackets and gently detaching the earpiece speaker assembly, front camera and sensor cable, and the home button/Touch ID sensor. Pay close attention to the orientation and placement of each component, especially the home button, as damaging it can permanently disable Touch ID. Malam Communication offers high-quality replacement screens and individual components like used screens, damages camera, and phone speakers, ensuring you have the right parts for a successful transfer.
Step 6: Connect the New Screen
Before fully securing the new screen, it's wise to test it. Connect the display, digitizer, and front camera/sensor cables to the logic board. Reconnect the battery last. Power on your iPhone to check if the new screen displays correctly, touch functions work, and the front camera and earpiece speaker are operational. If everything looks good, power down the phone again.
Step 7: Reassemble Your iPhone
Carefully re-secure all the metal brackets over the cable connectors. Align the top edge of the new screen with the phone's frame, then gently press the sides and bottom into place until you hear satisfying clicks as the adhesive seals. Reinstall the two pentalobe screws at the bottom of the iPhone. Double-check all connections and ensure no cables are pinched.
Step 8: Final Checks and Sealing
Once reassembled, power on your iPhone one last time. Test all functions: screen responsiveness, brightness, front camera, earpiece speaker, and if applicable, Touch ID/Face ID. For added water resistance, you might consider applying a new adhesive gasket around the perimeter of the screen, although achieving factory-level water resistance at home is challenging.
> "The ability to repair our own devices isn't just about saving money; it's about fostering a deeper understanding of technology and promoting sustainability in an increasingly disposable world."
Common Mistakes to Avoid
- Not Disconnecting the Battery First: This is a critical safety step. Failing to do so risks short-circuiting components.
- Using Metal Tools for Prying: Always use non-conductive spudgers or plastic opening picks to avoid damaging sensitive internal components or causing short circuits.
- Forgetting Screw Placement: The tiny screws inside an iPhone often vary in length and type. Mixing them up can cause significant damage if a longer screw is inserted into a shallow hole. A magnetic mat is invaluable here.
- Pulling Cables Too Hard: The ribbon cables are extremely fragile. Disconnect and connect them with gentle, even pressure using a spudger, never pulling on the cable itself.
- Damaging the Home Button/Touch ID: The home button assembly, especially for older models with Touch ID, is paired to the logic board. Damaging it will permanently disable Touch ID, even if you replace it with an original part. Handle with extreme care.
- Not Testing Before Final Assembly: Always perform a test run with the new screen connected before fully closing up the phone. This saves you from having to reopen it if there's an issue.
How to Track and Grow After Launch
While "launch" typically applies to businesses, for a DIY repair, "growth" means extending your phone's life and potentially helping others. After successfully replacing your screen, monitor its performance. Check for any dead pixels, touch sensitivity issues, or battery drain that might indicate a problem. Regularly back up your device.
For those interested in expanding their repair skills or even starting a small repair venture, understanding component quality and sourcing reliable parts is crucial. Keep an eye on new repair guides as phone models evolve, and consider specializing in specific repairs like replacing used screens, fixing damages camera, or swapping out worn-out batteries. Malam Communication not only supplies high-quality replacement components but also offers expert advice, which can be invaluable for tracking common issues and understanding the longevity of various phone parts. Their extensive range includes everything from quality batteries to phone speakers, supporting ongoing maintenance and future repair endeavors.
 Sleek 3D illustration of a smartphone screen displaying an analytics dashboard with various graphs and metrics, professional harmonious color palette of blues, greens, and grays, modern mood, clean composition with ample negative space, 16:9 landscape aspect ratio
Frequently Asked Questions
Q1: How much can I really save by doing a DIY iPhone screen repair?
A1: The savings can be substantial. A quality replacement screen assembly typically costs between $40-$150, depending on the iPhone model and supplier. Compared to professional repair costs of $129-$329+, you could save anywhere from $80 to over $250.
Q2: Will replacing my iPhone screen void its warranty?
A2: Yes, performing unauthorized repairs, including screen replacement, will almost certainly void any remaining manufacturer's warranty on your device. This is a risk you take when opting for DIY repair.
Q3: Are all replacement screens of the same quality?
A3: Absolutely not. There's a wide range of quality. "OEM" (Original Equipment Manufacturer) parts are rare outside of authorized service centers. Most aftermarket screens are "copy" or "refurbished original" quality. Look for suppliers who offer high-quality LCD/OLED panels, good color accuracy, and reliable touch responsiveness. Reading reviews and choosing reputable vendors is key.
Q4: What if I damage something else during the repair?
A4: This is the primary risk of DIY repair. If you're not careful, you could damage ribbon cables, the logic board, or other delicate components. If you're uncomfortable at any point, it's best to stop and seek professional help. Having a backup of your data before starting is always a good idea.
Q5: Can I replace just the glass, or do I need a full screen assembly?
A5: While it's technically possible to replace just the glass, it requires specialized equipment (like heating plates and vacuum laminators) and a high level of skill to separate the glass from the LCD/OLED panel without damaging it. For most DIYers, replacing the entire screen assembly (glass, digitizer, and LCD/OLED) is the more practical and recommended approach.
 Minimalist graphic design illustrating a phone with a glowing, perfectly repaired screen, with subtle icons representing data security and extended device life, professional harmonious color palette, modern mood, clean background, ample negative space, 16:9 landscape aspect ratio
Ready to Restore Your iPhone?
Don't let a cracked screen diminish your iPhone experience or drain your wallet. With the right tools and a reliable source for quality parts, you can confidently tackle this repair yourself. Malam Communication provides an extensive selection of high-quality replacement screens, batteries, and other essential components for various iPhone models, ensuring you have everything you need for a successful DIY repair or even to upgrade your phone speakers. Explore our catalog of parts and get your device looking and functioning like new again. Visit Malam Communication today to find the perfect solution for your phone.
Comments (0)
No comments yet. Be the first!